Note: This tutorial is for unsupported prints, if your print need support, use the tutorial for supported prints. Read more about supported vs. unsupported print here.
1
Open Cura, this is what the default screen should look like.

2
Choose the printer you want to create a print file for using the drop-down menu.

3
Select Ultimaker S3.

4
Check to make sure the materials in Cura match the printer you want to use. If you are printing WITHOUT supports and your material settings do not match the printer please proceed to step 5. If your material settings match please proceed to step 11.

Note: All Ultimaker S3’s on the floor has two material extruders, there are two configurations for our machines. Please make sure you are using a machine that matches your needs. If you are printing WITHOUT support make sure the machine you are using has PLA in both extruder positions. See the example at the top. If you are printing WITH support position 1 should be PLA and position 2 should be PVA. For detailed instructions see our Printing With Support Guide (link).
5
Click the drop-down menu arrow in the material selection window.

6
Select material spool 1 by clicking the tab with the circled “1” icon on it.

7
To the right of “material” use the drop-down menus to navigate to “Black Tough PLA”.
Material > Ultimaker > Tough PLA > Black Tough PLA

8
Repeat this same process for material slot 2.
Select material spool 2 by clicking the tab with the circled “2” icon on it.

9
To the right of “material” use the drop-down menus to navigate to “Black Tough PLA”.
Material > Ultimaker > Tough PLA > Black Tough PLA

10
Once your Cura looks like the example at right you are ready to import your file.
Files MUST be saved as an .STL
Drag and drop the file into cura or use the file menu option to select your file.
Multiple files can be printed at the same time.

11
After the file has loaded you will see it on the build plate in Cura.

12
Adjust the position of the object if needed.

Note: Taller objects should be placed at the rear of the build plate, this will reduce the time the print takes.
13
Optional. Adjust scale if needed.

Note: Dimensions of the object should be set before the .STL is exported from the CAD/Modeling software. This ensures that the part is the right size and multiple parts will fit together.
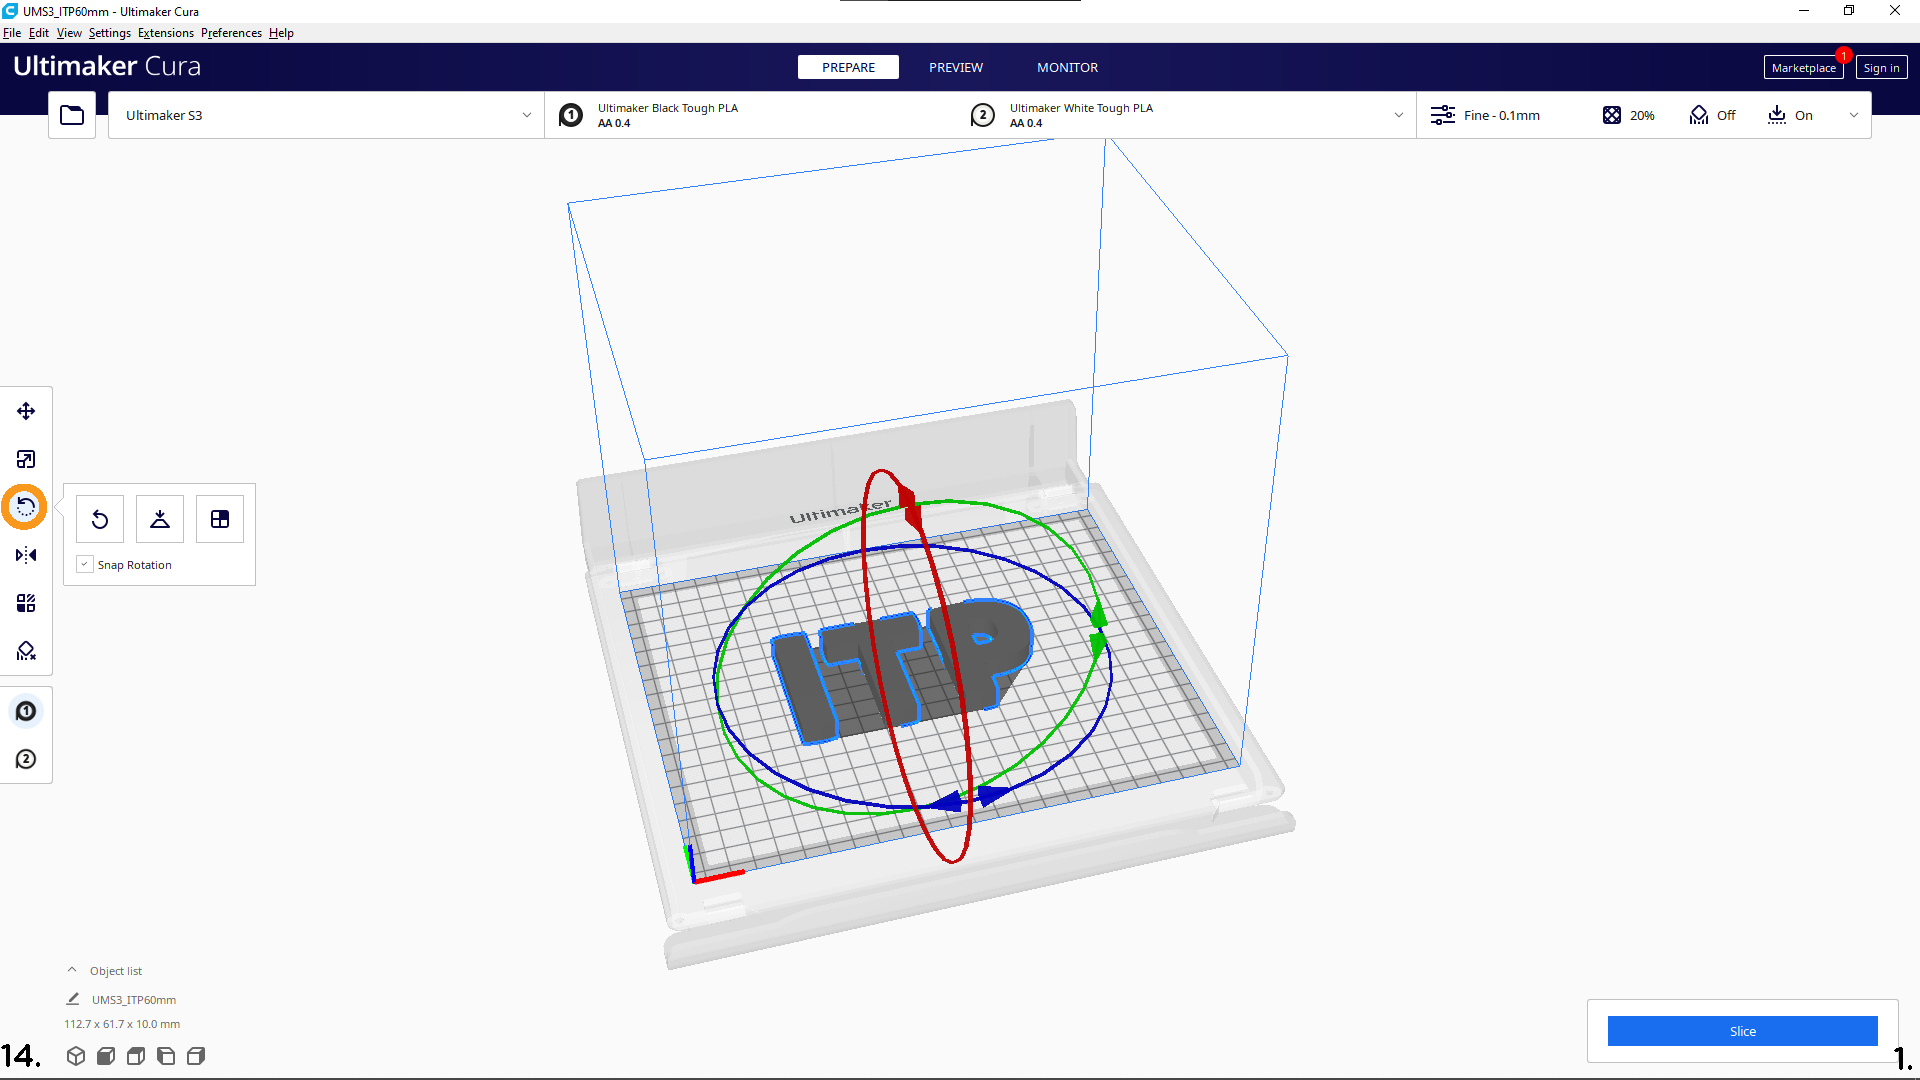
14
Rotate part to place flat surface on the build plate. When printing WITHOUT support is imperative that the part have a flat surface AND has no overhanging features.
- Use the first icon in the menu to reset the rotation
- Use the second icon in the menu to “Lay Part Flat”
- Use the third icon in the menu to chose a face to position on the build plate.
15
Optional. This button will mirror your part.

Note: It is better to mirror your part in the CAD/Modeling software.
16
Choose the color of the material for printing your part

17
The print settings are located on the right-hand side of Cura.
Click the drop-down arrow to adjust the settings as needed.

Note: Most files will print well with the default settings of Fine – 0.01 mm 20% fill.
18
Set the slice height using the radio buttons to the right of “Default”.

Note: Slice height will have major effects on your print.
- For a prototype choose 0.2
- For a final with small details choose 0.06
- For a final with no details choose 0.1 or 0.15
Slice height, also referred to as Layer Height, makes a big difference in how long your print will take. For example, 0.1 will take TWICE as long to print as 0.2 For information regarding the other profiles please see our guide to Advanced Printing (link).
19
Set infill to 20% for most prints.

Note: If your print needs to be a functioning structural part up to a 90% infill can be used, HOWEVER, this will dramatically increase the time your print will take, up to 15x depending on the size of the part. For information regarding Gradual Infill please see our guide to “Advanced Printing”.
20
Printing with supports is covered in our “Guide to Printing With Supports” (link).

21
Always leave the Adhesion box checked.

22
To slice your file click the blue button “Slice”.

23
Once the file is sliced the estimated time and amount of material will be displayed.

Note: Please record the time your print is estimated to take this will be needed when making reservations for printing.
24
Click the preview button in the estimation box.

25
Using the slider on the right-hand side of the screen, scroll through the layers of the print checking to make sure that all parts of the print touch the build plate.

Note: If not all parts are touching the build plate please see “Guide to Printing With Supports”.
26
Save your Ultimaker Print File to a flash drive.
The next steps will be on the printer.

27
Insert your flash drive and wait for the system to load the file structure.
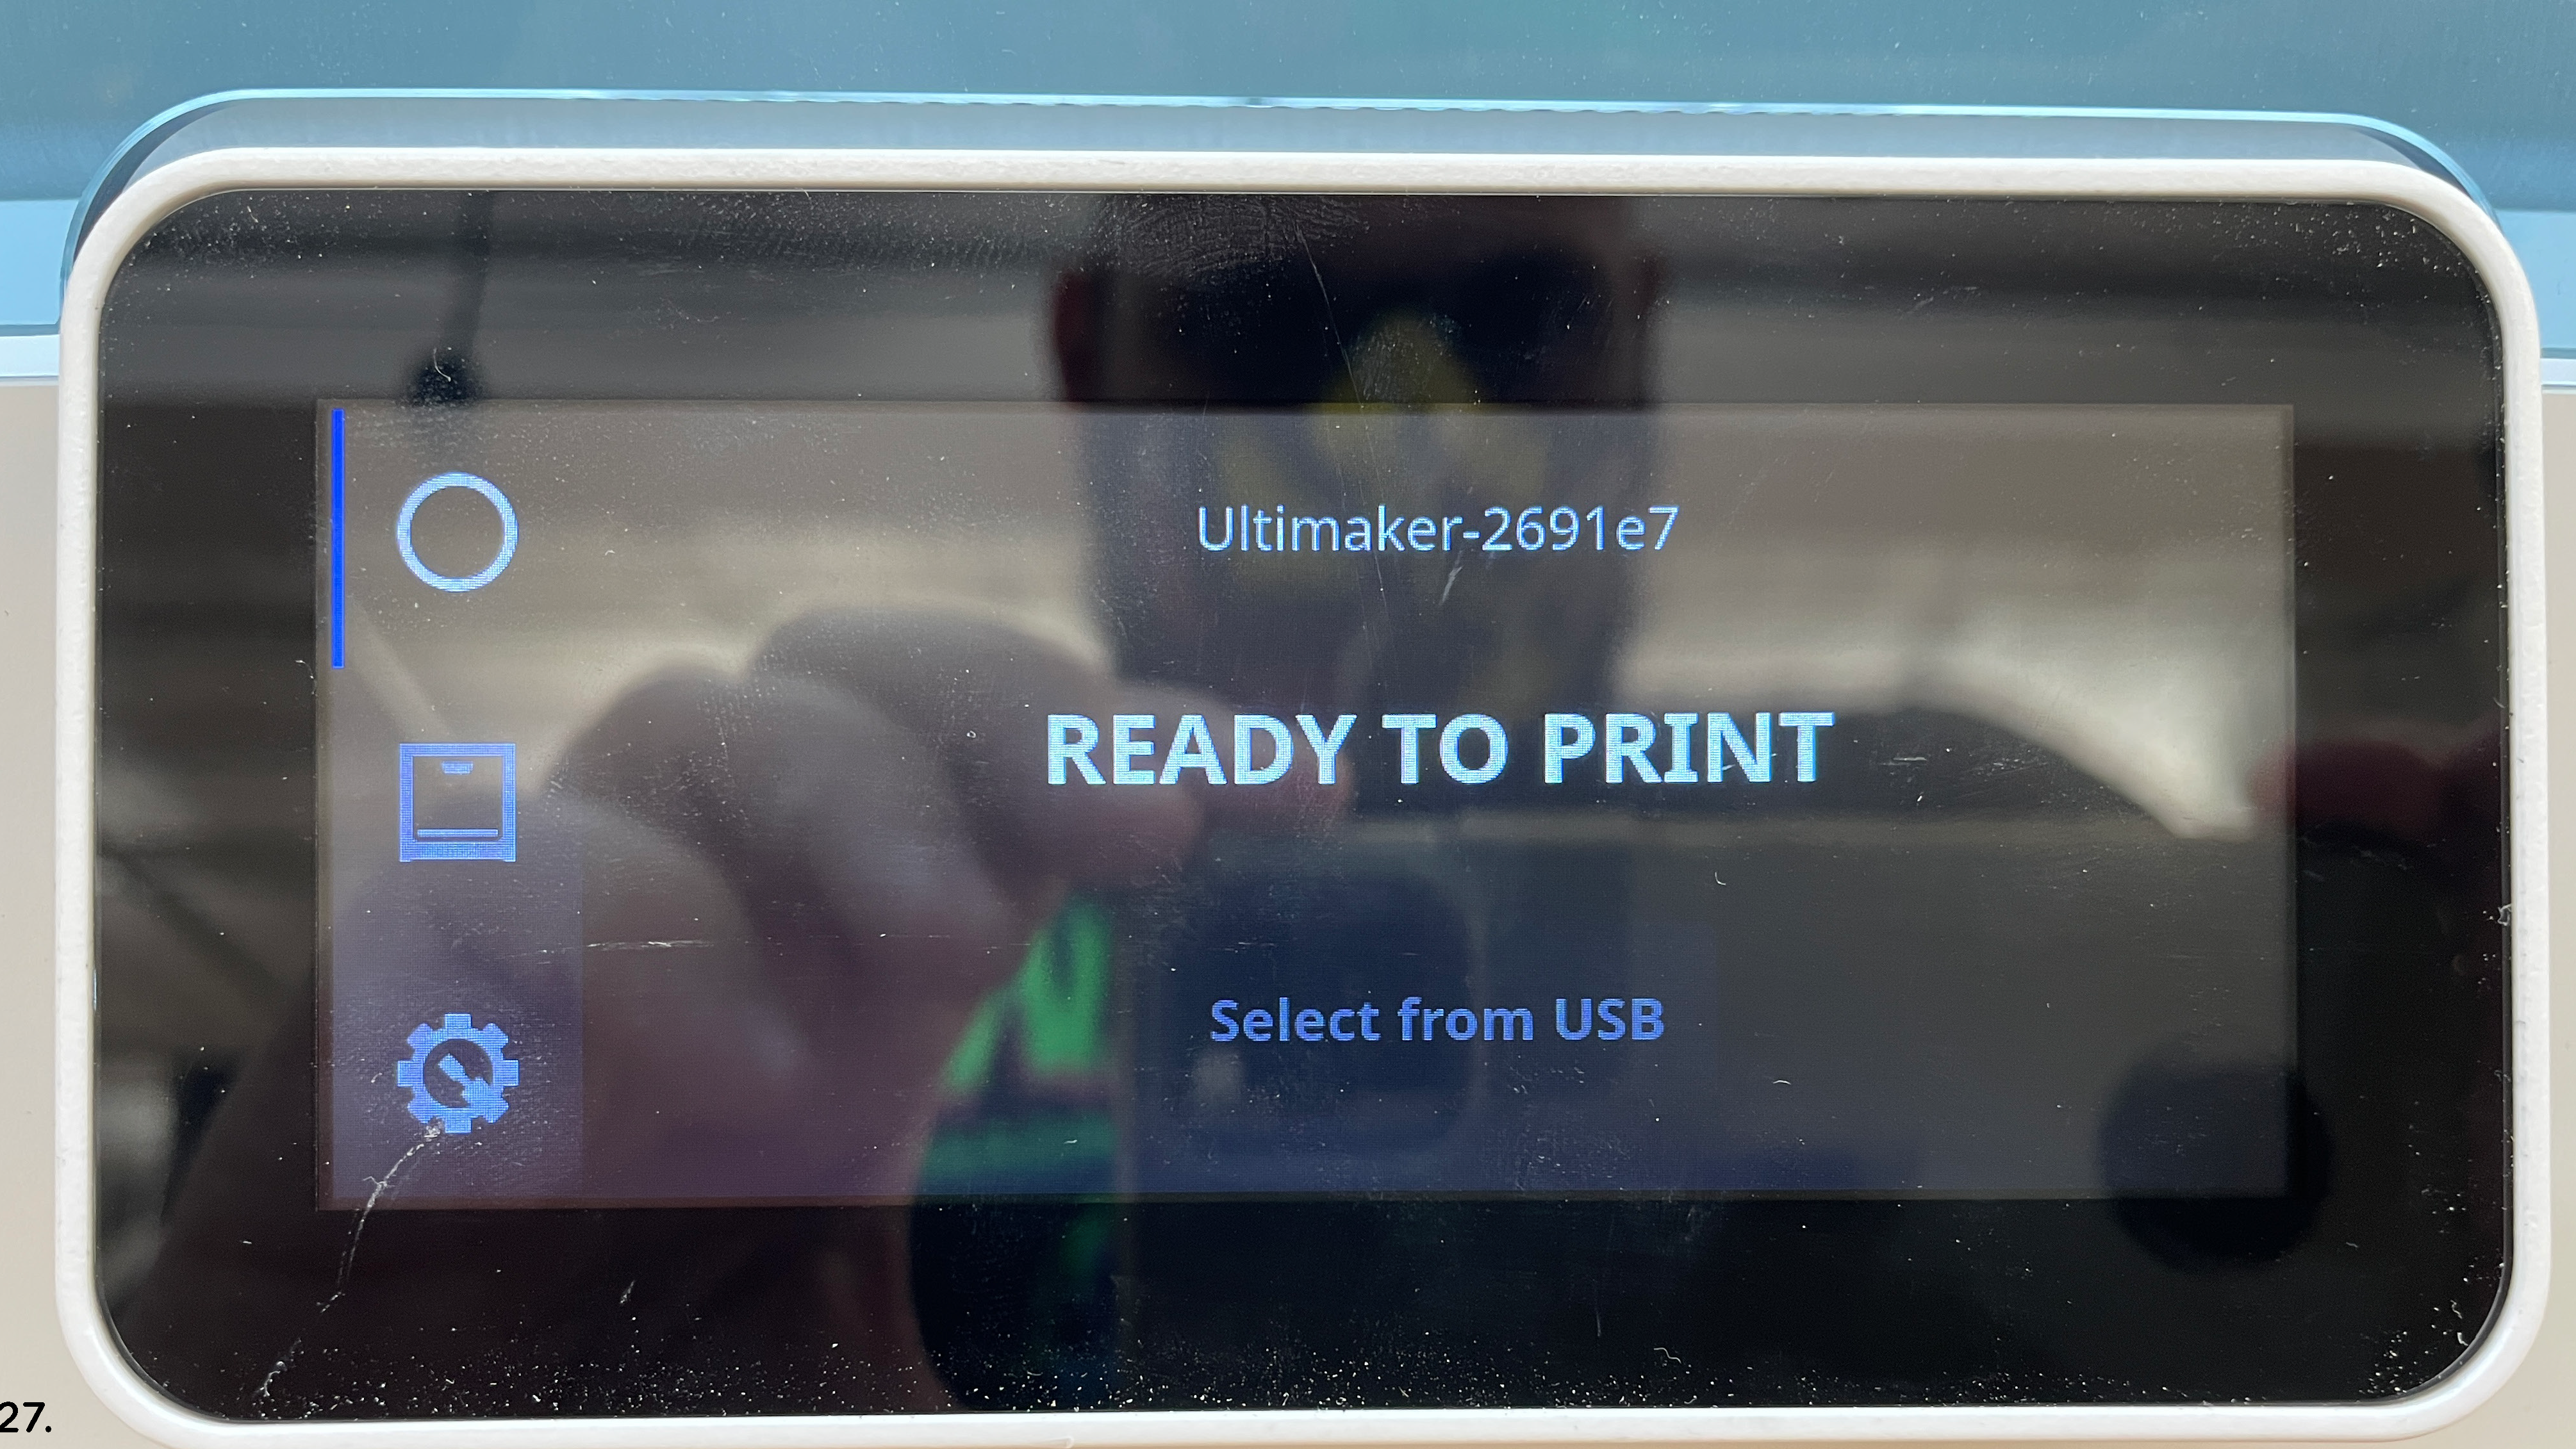
28
Tap “Select from USB”.

29
Navigate to your file and tap it to select.

30
Tap “Start Print” to begin the printing process.

Note: If there are any “conflicts” visible on this screen, the settings of the file do not match the settings of the printer. Please compare the settings on the printer with the settings in Cura and re-export your file.